This tutorial will teach you how to connect the Soil Moisture with the NodeMCU and upload the soil moisture data to the cloud using ThingSpeak.
We will create the project in three steps: hardware setup, programming, and ThingSpeak integration.
Part 1: Hardware Setup
We will be using the following components for this project:
- NodeMCU ESP-12E
- Soil Moisture Sensor
- Breadboard and jumper wires
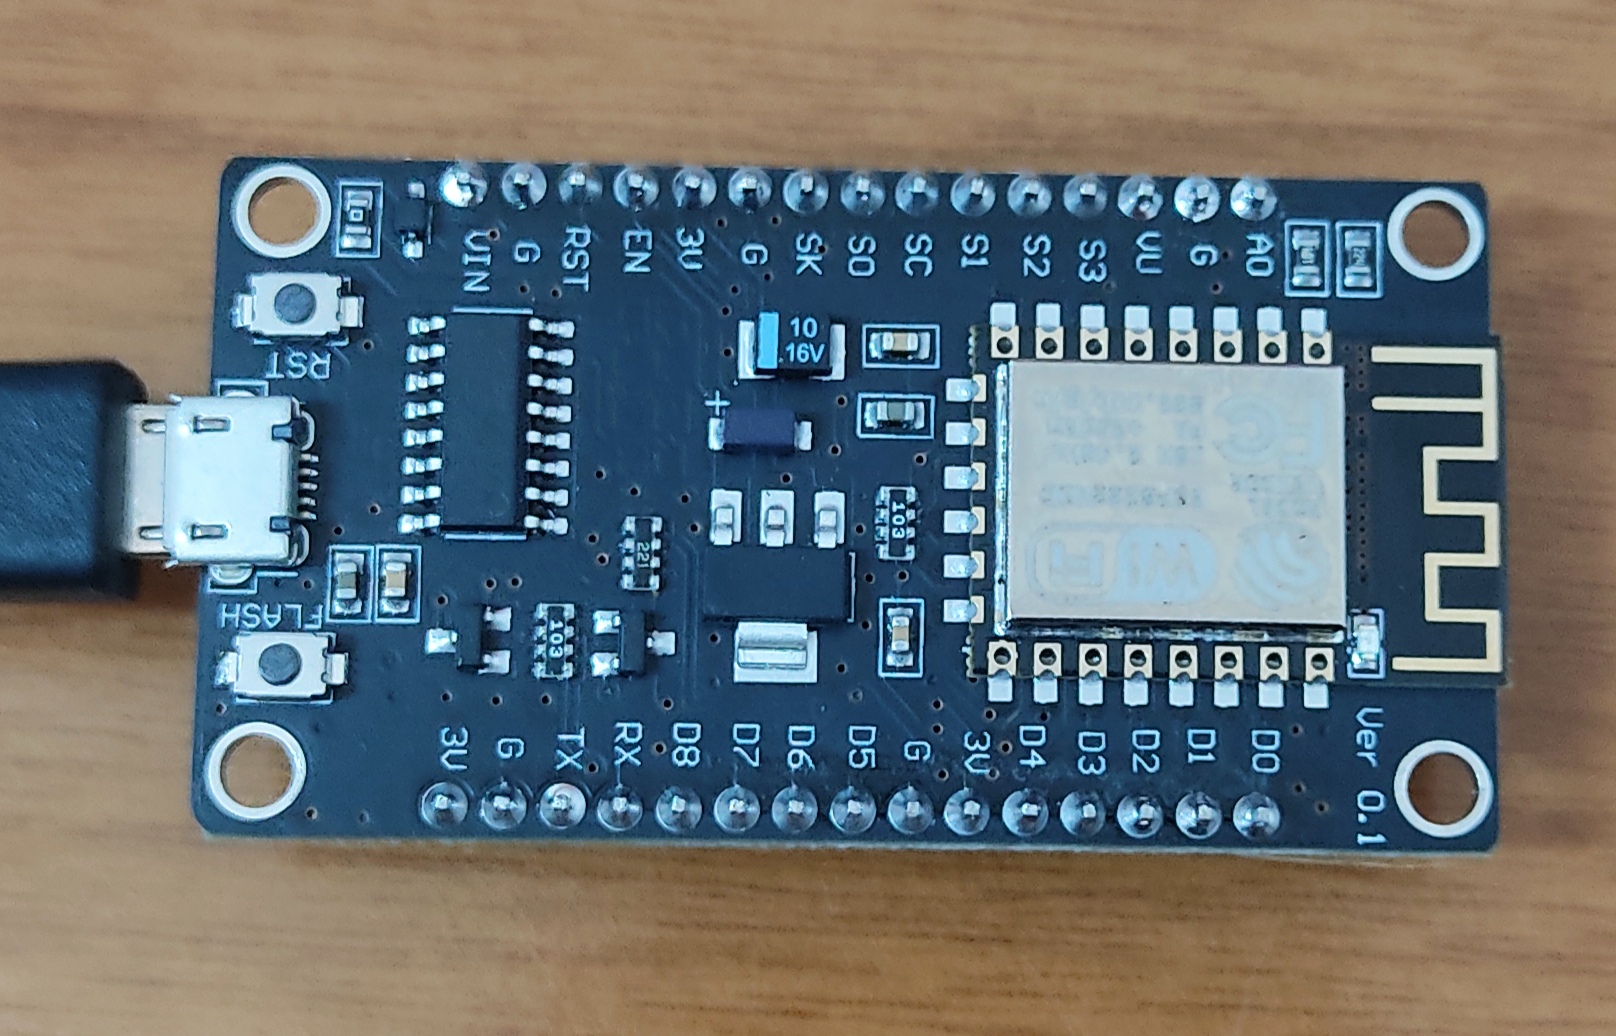
The NodeMCU ESP-12E is an open-source, versatile development board designed for the Internet of Things (IoT) that combines the powerful ESP8266 microcontroller with a built-in Wi-Fi module. It acts as a more capable and affordable alternative to a standard Arduino, featuring a faster processor, integrated networking, and a micro-USB port for easy programming and power.
It operates on 3.3V logic and includes various GPIO pins, enabling you to connect sensors, actuators, and displays while simultaneously communicating with web servers or cloud platforms. This makes it an ideal platform for building projects like smart home systems, remote weather stations, or any device that needs to “talk” to the internet.
The soil moisture sensor is actually made of two separate parts, the resistive probe and the Soil Moisture Hygrometer Module. The probe is inserted in the soil to detect the moisture content while the hygrometer process the data to generate an analog and digital output and send the data out through the AO and DO pins.
The digital output depends on the threshold level set by turning the onboard potentiometer. When in use, the indicator LED lights up if the threshold value is reached and DO pin outputs a LOW signal.
The analog output from AO can be read and processed by the ADC of a microcontroller. For this project, it will be the NodeMCU ESP-12E. The output of AO is not affected by the potentiometer as opposed to the DO output.
For our project today, we will use the analog output coming from AO pin.
Here is our connection diagram. Note that our AO from the Hygrometer Module is connected to the single analog pin AO of the NodeMCU.

Part 2: Programming
Here is the program that will be used for this tutorial. We will have a line-by-line explanation of this code in the later part of the tutorial.
const int sensorPin = A0;
int sensorReading, mappedValue, moistureValue;

void setup() {
  Serial.begin(9600);
}

void loop() {
  sensorReading = analogRead(sensorPin);
  mappedValue = map(sensorReading, 0, 1024, 0, 100);
  moistureValue = 100 - mappedValue;

  Serial.print("Sensor Reading: ");
  Serial.print(sensorReading);
  Serial.print("    |    " );
  Serial.print("Mapped Value: ");
  Serial.print(mappedValue);
  Serial.print("    |    " );
  Serial.print("Moisture Value: ");
  Serial.print(moistureValue);
  Serial.println("%" );
  delay(1000);
}
Line-by-line Program Explanation
For clarity, we are not placing any comments in our code. For your own projects, feel free to write comments to make your codes more informative and documented.
In Line 1, we created a variable for our Soil Moisture Sensor’s analog output pin named sensorPin and set it as A0.
cont int sensorPin = A0;
We will be working on three variables for the program:
- rawValue – the sensor reading being received from A0
- mappedValue – values from rawValue limited to values from 0 to 100 using map() function
- moistureValue – mapped value converted to percentage
All of the values above will come as integers so in line 2, we declare them as follows:
int sensorReading, mappedValue, moistureValue;
For our setup(), we need to initialize the Serial Monitor to be able to check the values of our variables. We set the speed at 9600 bauds, so in the Line 5 we write:
Serial.begin(9600);
For our loop(), we read the value from our soil sensor in Line 9 using the analogRead() function.
sensorReading = analogRead(sensorPin);
We then convert the sensorReading to mappedValue using the map() function. The raw values may range from 0 to 1024 and we limit those by mapping such values to 0 up to 100 only. That is why Line 10 is written as:
mappedValue = map(sensorReading, 0, 1024, 0, 100);
The mappedValue that we get however is reversed in terms of moisture percentage. That is, we will get 0 for maximum moisture and 100 for no moisture detected. In Line 11, we reverse those values so that we get 0 for no moisture and 100 for the maximum amount of moisture.
moistureValue = 100 - mappedValue;
Lines 13 to 21 prints the values while including the proper names as strings for clarity:
  Serial.print("Sensor Reading: ");
  Serial.print(sensorReading);
  Serial.print("    |    " );
  Serial.print("Mapped Value: ");
  Serial.print(mappedValue);
  Serial.print("    |    " );
  Serial.print("Moisture Value: ");
  Serial.print(moistureValue);
  Serial.println("%" );
Finally, we limit our readings to once per minute by using the delay function in Line 22 which completes our loop() function.
delay(1000);
This completes our program. We can now upload it for execution. If everything goes out as planned, the Serial Monitor should display the values as shown below.
Part 3A: ThingsSpeak Setup
We will be assuming that you have already signed up for a ThingSpeak by MathWorks account, so we will begin by creating a new channel for this project.
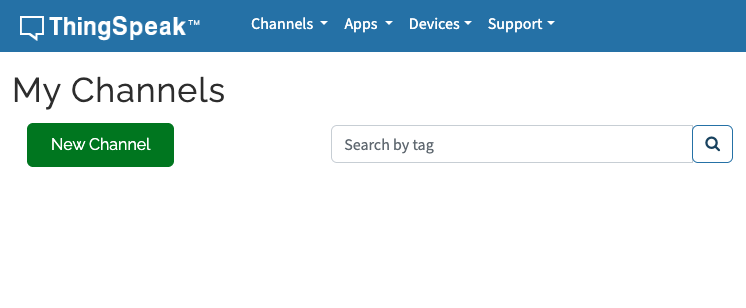
Step 1: In your ThingSpeak dashboard My Channels, click on the “New Channel” button.
Step 2: Give your channel a name and description. For our project, we will name it Soil Moisture Data and in the description, we will write “Soil Moisture Data Upload Tutorial by STEMProjectsLab.”
—-
Step 3: We are uploading a single stream of data which is Moisture Value, so we will check only Field 1 and Label it Moisture Value
Step 4: We can leave the other fields as they are and now click Save Channel to create the ThingSpeak Channel.
Step 5: If everything is done correctly, you should be able to see the channel page similar to this:
To be able to send data to ThingSpeak using the NodeMCU and Soil Moisture Sensor combination, we need to take note of these two information: Channel ID and Write API Key
Step 6: Copy the channel ID number and get the Write API Key from the API Keys tab.
Step 3B. ThingSpeak Integration
At this point, we have the information needed for our code integration with ThingSpeak. We will now go back to our Arduino IDE to install some libraries and to finally edit our code so that our data gets uploaded to the cloud via ThingSpeak.
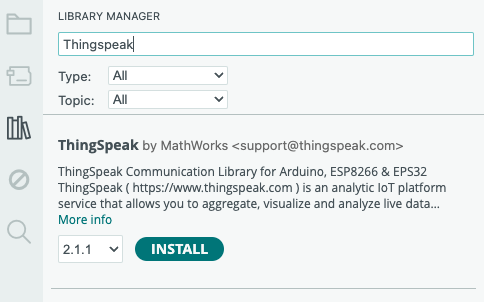
Step 1: Open the Arduino IDE Library Manager and then search for the library ThingSpeak by Mathworks. Click install to have it added to our library.
Step 2: On our codes header part, we will add the header files “ESP8266WiFi.h” and “ThingSpeak.h” from their respective libraries, so we will insert them to our original code as shown below:
#include "ESP8266WiFi.h"
#include "ThingSpeak.h"
const int sensorPin = A0;
int sensorReading, mappedValue, moistureValue;
Step 3: We will also add the following lines to establish a WiFi connection to an available network and to establish the connection to our ThingSpeak channel. Replace YourWiFiID, YourWiFiPassword, YourChannelNumber and YourAPIKey with the values appropriate for you. Do not remove the quotation marks:
char ssid[] = "YourWiFiID";
char pass[] = "YourWiFiPassword";
int keyIndex = 0;
WiFiClient  client;

unsigned long myChannelNumber = YourChannelNumber;
const char * myWriteAPIKey = "YourAPIKey";
Step 4: For the setup(), we will change our connection speed to 115200 bauds from the initial value of 9600 bauds. We will also set the WiFi mode to a station and we will also initialize ThingSpeak, as shown below:
void setup() {
  Serial.begin(115200);
  WiFi.mode(WIFI_STA);
  ThingSpeak.begin(client);
}
Step 5: For our loop now, we will begin by reading the data from the Soil Moisture and printing those on the Serial Monitor. After that, will then attempt to connect to the network using these lines:
sensorReading = analogRead(sensorPin);
mappedValue = map(sensorReading, 0, 1024, 0, 100);
moistureValue = 100 - mappedValue;

Serial.print("Sensor Reading: ");
Serial.print(sensorReading);
Serial.print("    |    " );
Serial.print("Mapped Value: ");
Serial.print(mappedValue);
Serial.print("    |    " );
Serial.print("Moisture Value: ");
Serial.print(moistureValue);
Serial.println("%" );

if(WiFi.status() != WL_CONNECTED){
    Serial.print("Attempting to connect to Network ");
    while(WiFi.status() != WL_CONNECTED){
      WiFi.begin(ssid, pass);
      Serial.print(".");
      delay(5000);
    }
    Serial.println("\nConnected to network.");
  }
Step 6. Once connection is established, we can proceed to setting the fields and the values for each. We will set field1 for temperature and field2 for humidity as shown below:
ThingSpeak.setField(1, moistureValue);
Step 7: The lines below write the temperature and humidity data to our ThingSpeak channel. It will also alert us if there is an error in the process.
int x = ThingSpeak.writeFields(myChannelNumber, myWriteAPIKey);
  if(x == 200){
    Serial.println("Channel update successful.");
  }
  else{
    Serial.println("Problem updating channel. HTTP error code " + String(x));
  }
Step 8: Finally, we will set a delay of 15 seconds, which is also the limit of update frequency for free ThingSpeak channels.
Here is our complete code:
#include "ESP8266WiFi.h"
#include "ThingSpeak.h"
const int sensorPin = A0;
int sensorReading, mappedValue, moistureValue;

void setup() {
  Serial.begin(115200);
  WiFi.mode(WIFI_STA);
  ThingSpeak.begin(client);
}

void loop(){
  sensorReading = analogRead(sensorPin);
  mappedValue = map(sensorReading, 0, 1024, 0, 100);
  moistureValue = 100 - mappedValue;

  Serial.print("Sensor Reading: ");
  Serial.print(sensorReading);
  Serial.print("    |    " );
  Serial.print("Mapped Value: ");
  Serial.print(mappedValue);
  Serial.print("    |    " );
  Serial.print("Moisture Value: ");
  Serial.print(moistureValue);
  Serial.println("%" );

  if(WiFi.status() != WL_CONNECTED){
    Serial.print("Attempting to connect to Network ");
    while(WiFi.status() != WL_CONNECTED){
      WiFi.begin(ssid, pass);
      Serial.print(".");
      delay(5000);
      }
      Serial.println("\nConnected to network.");
      }

  ThingSpeak.setField(1, moistureValue);

  int x = ThingSpeak.writeFields(myChannelNumber, myWriteAPIKey);
  if(x == 200){
    Serial.println("Channel update successful.");
  }
  else{
    Serial.println("Problem updating channel. HTTP error code " + String(x));
  }

  delay(15000);

}
We can now upload this to our board by clicking on the Upload button on the Arduino IDE. If everything went as planned, this should be shown in the Serial Monitor:
——
On the ThingSpeak website, you must be able to see the visualization similar to this one in the Private View Tab.
—–
We hope you are able to follow along and learned along the way. Do not hesitate to post any questions if you have any in the comments section.